Monday 15 June 2015

Move Order Approval Process in R12.2


Move Order Approval Method through Planner.
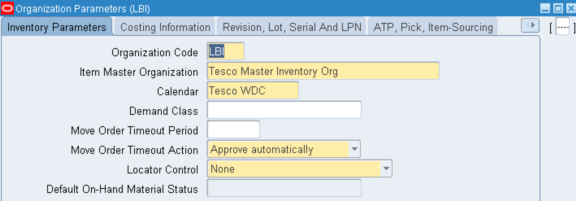
Before we learn about Move order, let us check the only setup for the move orders in organization Parameters.
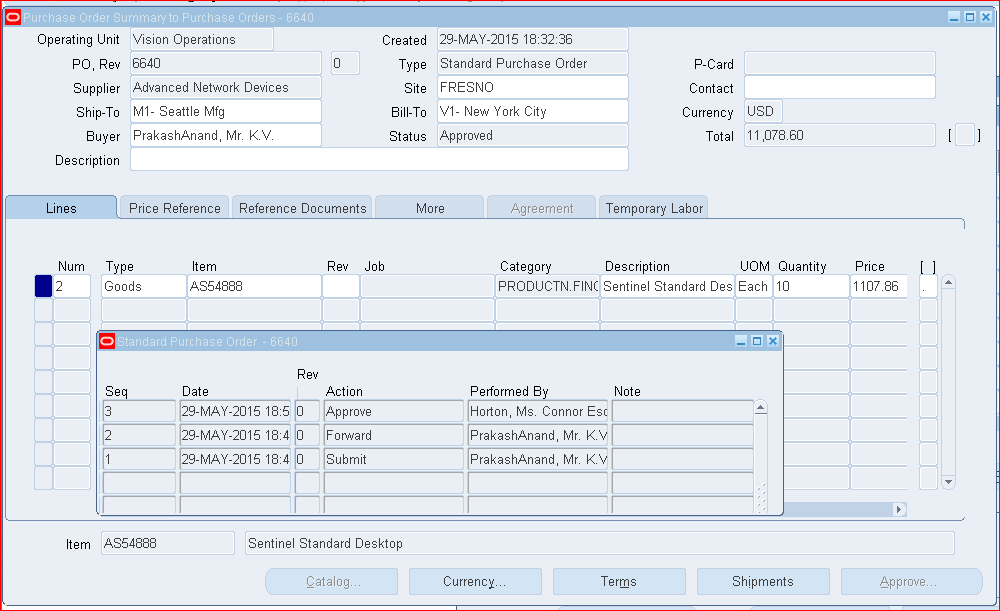
Create a Move order for the same item and click on the approval button on the bottom of the form.
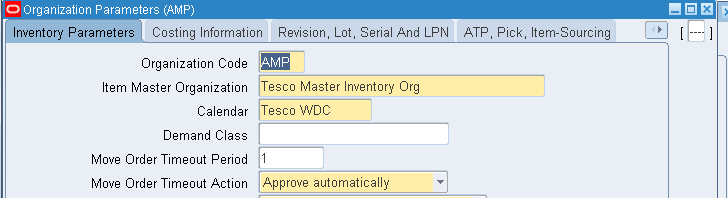
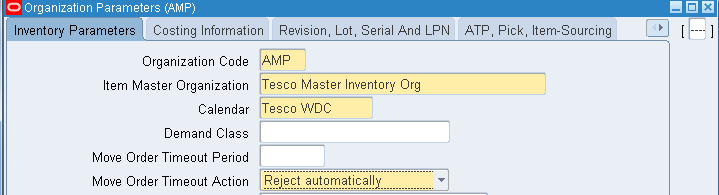
Navigation: Setup > Organizations > Parameters.
Here in the below Org parameters form we can make out two fields of setup for Move orders, we will go through the importance of those in later exercises below.
Step 1: Create a Planner.
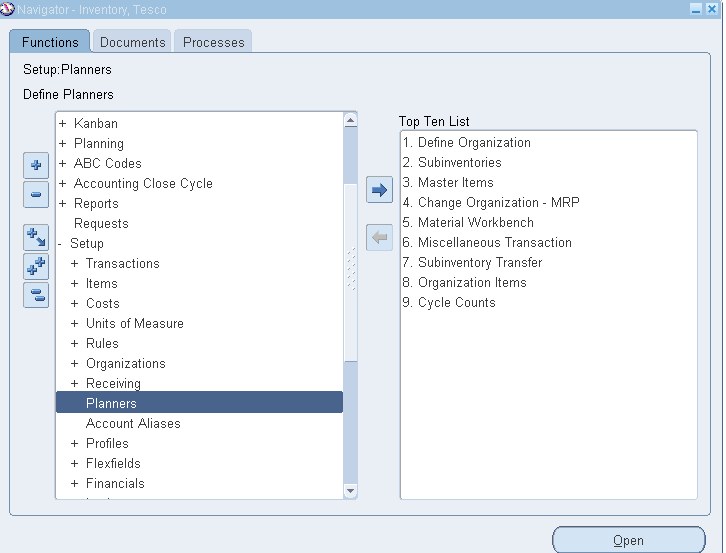
Responsibility: Oracle Inventory.
Navigation:  Setup > Planners.
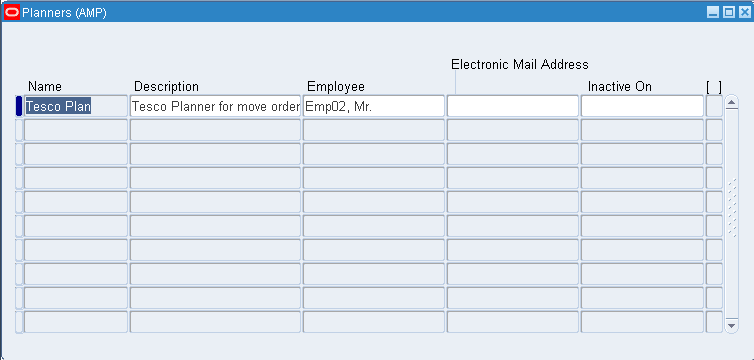
Open the Planner form and enter the details as below:
Name: Name for your Planner. (Tesco Plan here)
Description: As you like
Employee Field: Here the employee you enter will be the approver for the Move order.
Inactive On: End date action for this Planner.
Save the form.
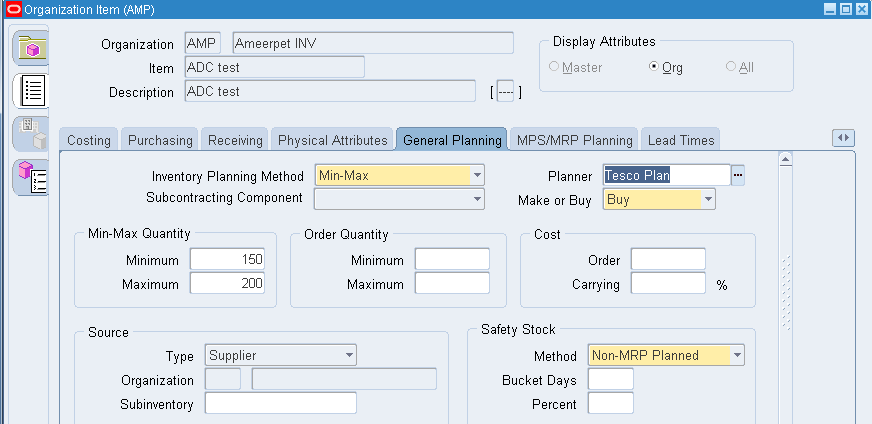
Step 2: Assign the Planner to the Item.
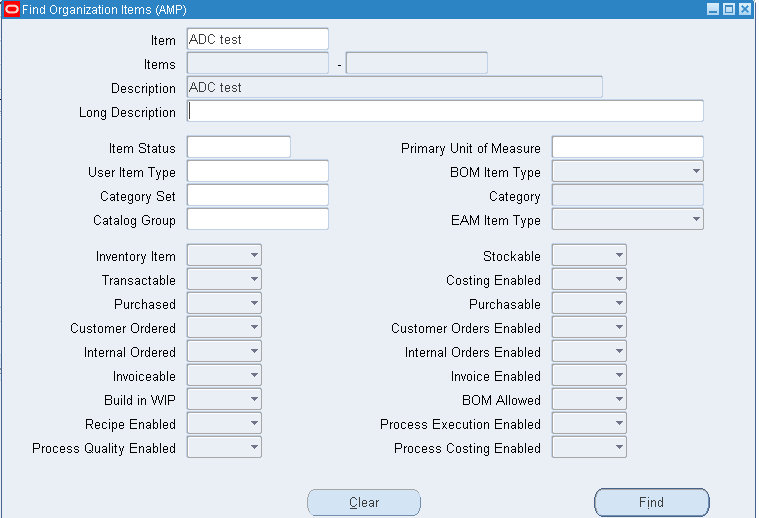
Navigation: Items----- Org Items.
Select the item you wanted the approval process.

Go to General planning tab and assign the planner as below and save.
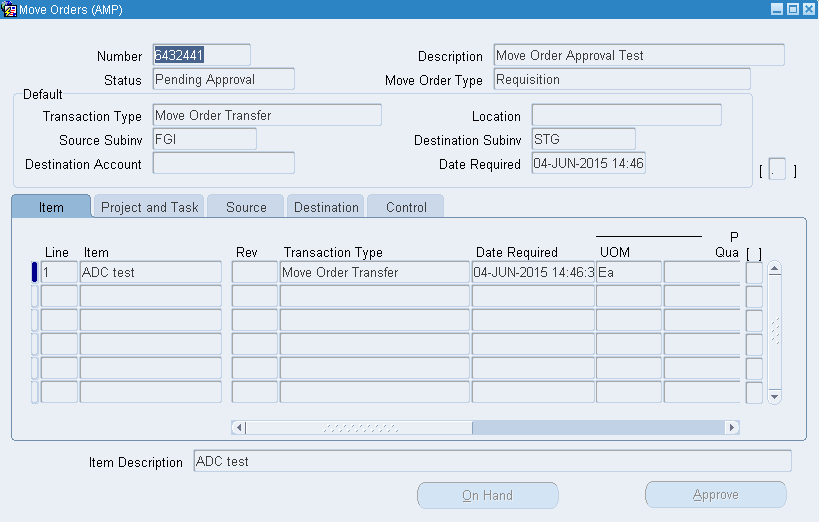
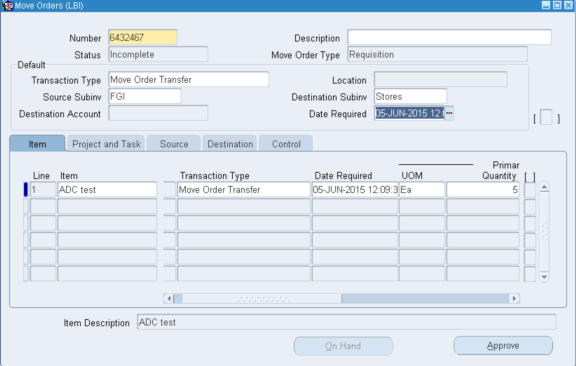
Step 3:  Move Order creation.
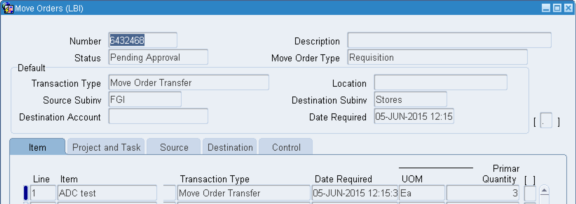
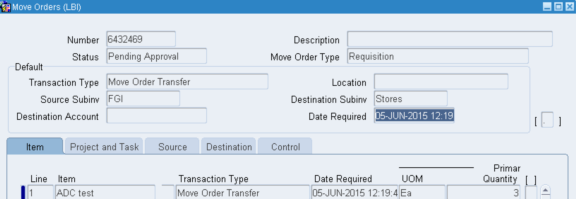
Let’s create the move order now and check the normal approval cycle as per the planner.
Once you click on approve you can observe the Move order status changes to Pending approval.
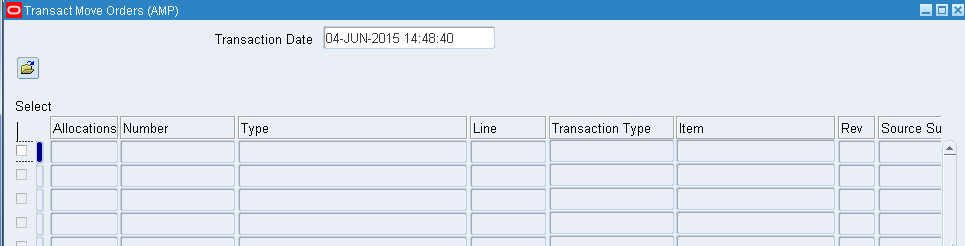
Now if you come to the Transact Move Order form you will get the move order created to transact.

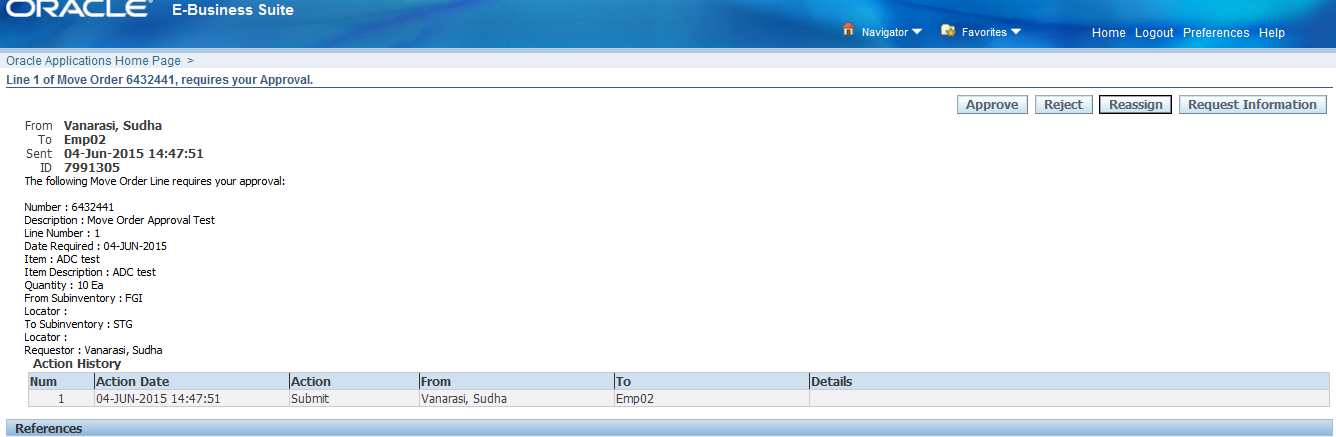
Step 4: Approving the Move Order.
Now log in to the user whom we entered as the approver and check for the approval notification.
Check the Order and approve.
Again log into the requestor and check the notification which says that the Move order has been approved as below.

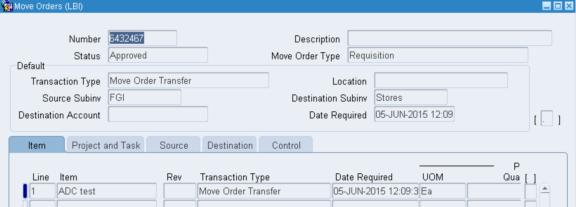
Now go to the move Order form and note the move order status has been changed to Approved.
Now go to the Transact Move order form and try to query the Move Order.
Select the Move Order and transact.
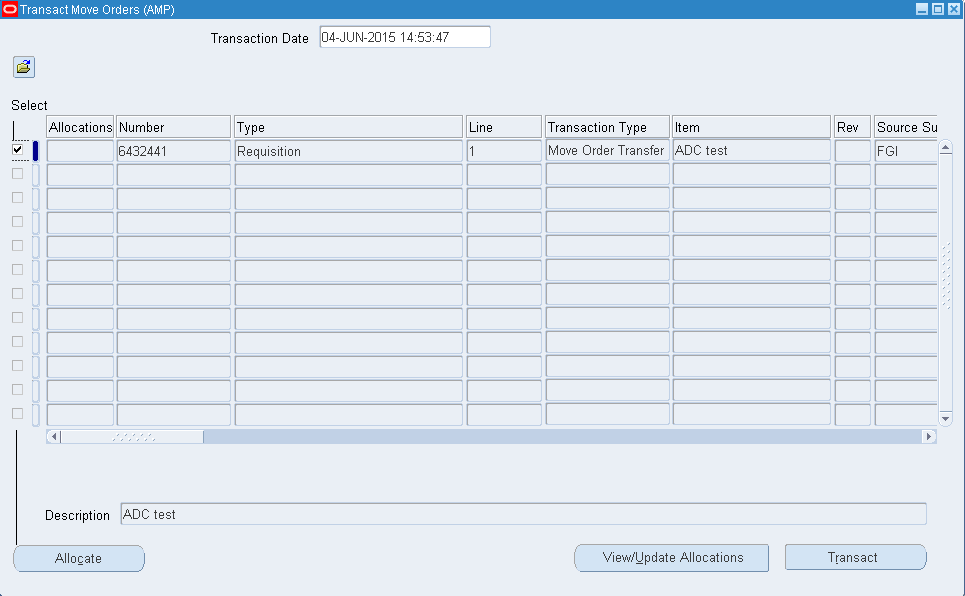
You will get the below note saying the item has been moved to the destination sub inventory.
Note: Replenish Move orders and Pick Wave Move orders are Pre-approved and will follow the approvals through Planners. The status of those move orders is Pre approved and ready to transact the materials.
Replenishment move order:
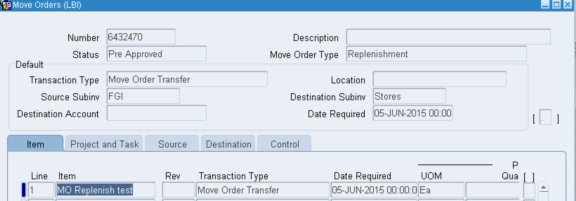
Pick Wave Move order:

Understanding move order time out period and time out Action. (Setups seen in Org parameters)
Let us now look into few scenarios on move orders with time out period and action.
Scenario 1: Move order Timeout Period: Null
                    Move order Timeout Period: Approve Automatically.
Here the system does not have any time out period and the move order will be approved automatically without considering the planner even if we assign.      
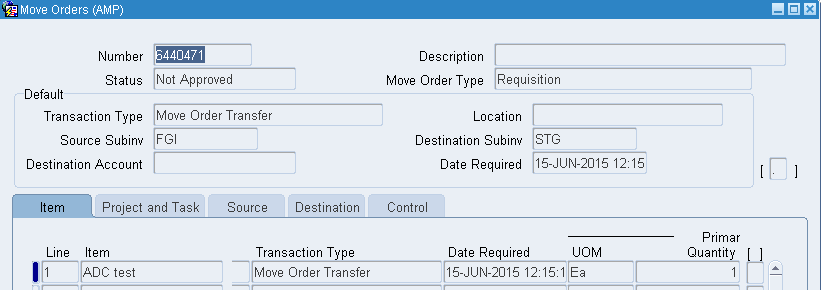
Create a Move order and click on Approve.

Move order will be approved even if we have planner assigned.


Scenario 2: Move order Timeout Period: Null
                    Move order Timeout Period: Reject Automatically.
This scenario will behave as same as above but the move order will be directly rejected (Not Approved) as per the Timeout action we have given. (Planner and Approvals are not considered)

Scenario 3: Move order Timeout Period:  1
                    Move order Timeout Period: Approve Automatically.
The Move Order Timeout Period field specifies the number of days the Move Order waits for approval. In the screenshot below we see that the Timeout Period has been set to 1 day. The first time the move order is created a notification is sent to the approver. If the approver does not take any action, then there will be a wait time of 1 day after which he will receive a second notification. Then after a second Timeout Period the move order is automatically accepted or rejected depending on the value in the Move Order Timeout Action field.
So if we create and approve the move order the move order goes through the approval method in the form of planner as below and the approver can either approve within the given timeout period or the system itself takes the decision either to Approve or Reject as based on the timeout action in the Org parameters.

Scenario 3: Move order Timeout Period:  1
                    Move order Timeout Period: Reject Automatically.
Here the Move order is in pending approval status and let us not approve it and note what happens to the Move order.
Notification (Primary) has been sent to the approver based on time out period value which again depends on the inventory calendar.
If the approver ignored the notification the system based on the timeout action rejects the Move order as below.

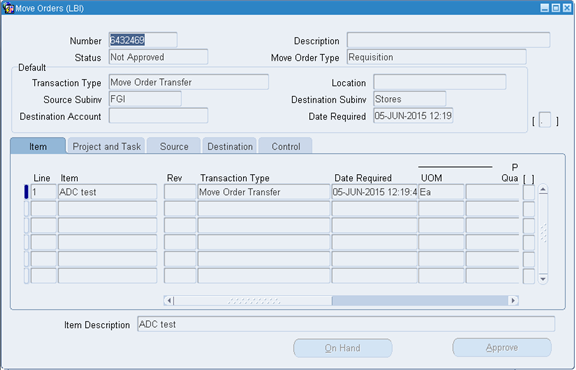
Now let’s query the Move order and note the order has been rejected (Not approved) status as below and observe the Approve button has been freezed.
Additional Info:
The Move Order Timeout Period attribute determines the number of days the order can wait for approval. After one time out period, if the recipient has not approved or rejected the order, a reminder notice is sent. After a second time out period, the order is automatically approved or rejected depending on the Move Order Timeout Action attribute you set.


---- Sudhakar Vanarasi


Tuesday 9 June 2015

Security Hierarchy functionality Setups and Flow in Oracle Purchasing


Using Security Hierarchies

Security hierarchies let you control who has access to certain documents.

For example, you can create a security hierarchy in which only you and other buyers in that hierarchy can view each other's purchase orders.

Security hierarchies are not an alternative to approval hierarchies, but something different altogether. Changes you make to a security hierarchy do not affect the approval hierarchy and vice versa.

If you want to specify a Security Level of Hierarchy for any of your document types, you must first define all positions which should have access to the documents you want to restrict in this manner. (Even if you are using jobs to route documents for approval, you must define positions before you can enable this Security Level).

You then define a security position hierarchy, and specify it in the Purchasing Options window.

To define Purchasing Options:

Document Control Options

Select a Security Hierarchy, which is a position hierarchy from the Position Hierarchy window in “Security Hierarchy” field of Purchasing Options page. When the Security Level is set to Hierarchy for a document in the Document Controls window, this position hierarchy governs access security for the document.

Important: This field is enterable only when the form is accessed from the Purchasing menu.

For user-defined quotations and RFQs, Purchasing displays as a default the Security Level of the Standard Quotation or RFQ, and you cannot enter the field. Otherwise, choose one of the following options:

Hierarchy - Only the document owner and users above the owner in the defined purchasing security hierarchy may access these documents.

Private - Only the document owner may access these documents.

Public - Any user may access these documents.

Purchasing - Only the document owner and users listed as buyers in the Define Buyers window may access these documents.

Important: Note that a “Security Hierarchy” controls which positions (and therefore which employees) have access to a particular document type. It does not control whether an employee has the authority to approve a document or perform other actions.
----------------------------------------------------------------------------------------------------------------------------------


Security Hierarchy – Setup Steps

  1. Define Position (Approval) Hierarchy

  Position Hierarchy Name : PA-Materials-1


Navigation : Setup > Personnel > Position Hierarchy


  1. Define Security Hierarchy

  Security Hierarchy Name : PA-Security-Hierarchy


Navigation : Setup > Personnel > Position Hierarchy


  1. Approval Assignment

  Approval Group “Director Production ” is assigned to
  
  Position  “PDR810. Production Director”

Navigation : Setup > Approvals > Approval Assignments


  1. Approval Group : Director Production

  Amount Limit is USD 100,000.00

Navigation : Setup > Approvals > Approval Groups


5. Purchasing Options

Navigation : Setup > Organizations > Purchasing Options

Select the Security Hierarchy “PA-Security-Hierarchy” in the field Security Hierarchy.


6. Document Types

Navigation : Setup > Purchasing > Document Types


In the above Document Type page, select as below for Document Name “Standard Purchase Order”

“PA-Materials-1” in the field “Default Hierarchy”

“Hierarchy” in the field “Security Level”


7. Financial Options

Navigation : Setup > Organizations > Financial Options


Select the check box against “Use Approval Hierarchies”.


Scenario Testing

1. Purchase Order Number 6640 is created by “PrakashAnand”


2. PO 6640 is approved by “Horton, Connor”.

Please see the “View Action History” showing the approval path.


3. Log-in as “cbrown”

  • “cbrown” is the user name of “Brown, Ms Casey”
  • Brown, Ms Casey is a Buyer
  • She is also present in the Security Hierarchy “PA-Security-Hierarchy“
  • She is not present in the Approval Hierarchy “PA-Materials-1“


4. Query the Approved Purchase Order “6640”


5. Brown, Casey is able to open / access the PO 6640, even though Brown Casey is not in the Position (approval) hierarchy; but, present in the Security hierarchy.


6. Brown, Casey is not seen in the view action history which means she is not part of the Approval hierarchy “PA-Materials-1”.


7. Buyers


Above window shows the employees defined as “Buyers”.

“Barton, Jeffrey M” is one of the Buyers.

Barton, Jeffrey M is not present in the Position (Approval) Hierarchy as well as Security Hierarchy.


8. Log-in as “EBUSINESS-MFG” (which is the user name of Barton, Jeffery”)


9. Query Purchase Order “66%”


PO 6640 is not displayed, which means any Buyer other than those in the Security hierarchy and or Position Hierarchy can not access the Purchase Order.

---- Prakash Anand KV.